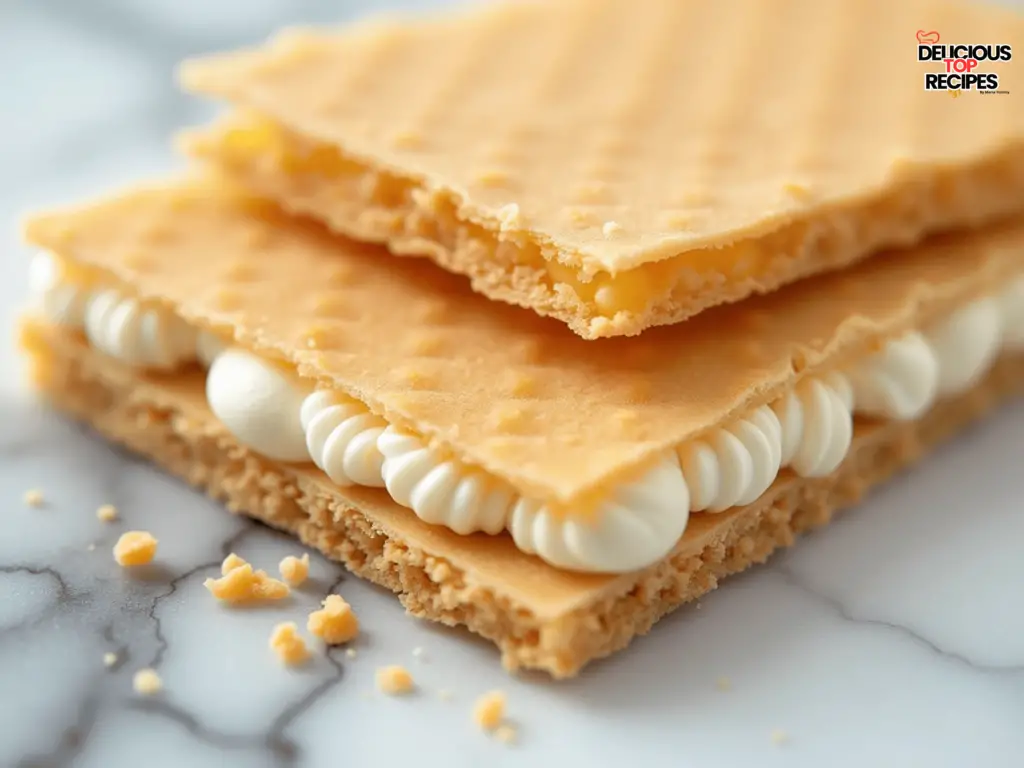
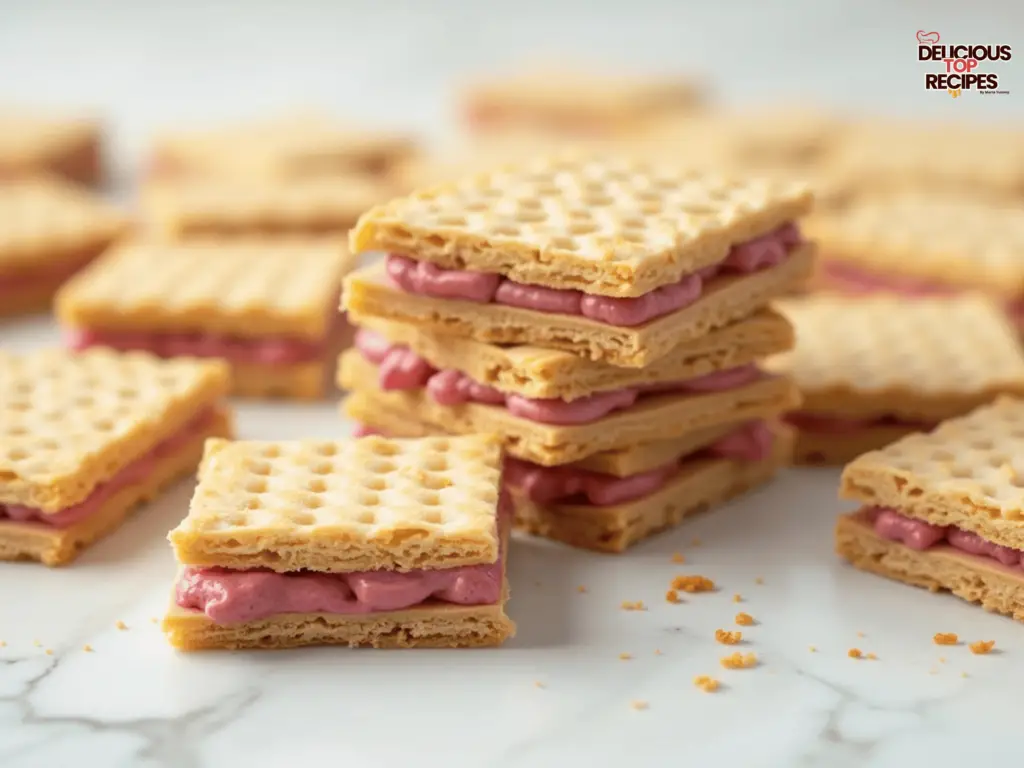
There’s something special about wafer cookies. They’re simple, nostalgic, and honestly… kind of underrated. Whether you grew up with the classic Nabisco chocolate wafer cookies or just love a crisp cookie that snaps perfectly with coffee (or milk, no judgment!), this recipe is here to bring that feeling back but homemade, fresh, and full of love.
I started baking these when I couldn’t find those classic wafers in stores anymore. My little one was on a mission to recreate his grandma’s chocolate dessert, and those were the key ingredient. So we got to work and let me tell you, what came out of the oven was even better than what we remembered.
Why You’ll Love These Wafer Cookies
- They’re crisp, buttery, and have that perfect light snap.
- You only need a handful of ingredients (all things you probably already have!).
- They make the cutest little sandwich cookies with frosting in the middle or stand beautifully on their own.
- You can customize them with shapes, colors, fillings the sky’s the limit!
Whether you’re baking for a cookie exchange, prepping for holiday tins, or just craving a sweet bite that won’t make a mess (shout out to car snack moms!), this one’s for you.
Note: The full list with exact measurements will be found in the recipe card at the end of the article.

Ingredients
- 1 cup unsalted butter, softened
- 1/3 cup heavy cream
- 2 cups all-purpose flour
- 1/2 cup granulated sugar (for pressing the cookies)
For the filling:
- 1/2 cup unsalted butter, softened
- 1/4 teaspoon kosher salt
- 1 1/2 cups confectioner’s sugar
- 2 teaspoons vanilla extract
- 2–4 tablespoons heavy cream
- Food coloring (optional, but so fun!)
Instructions
Step 1: Make the cookie dough
In a stand mixer (or with a hand mixer if that’s what you’ve got), beat the softened butter for 3–5 minutes, until it’s light and fluffy. Slowly add the flour and then the heavy cream. Mix until just combined don’t overmix! Cover the dough and chill it in the fridge for at least 2 hours (or overnight if you’re ahead of the game).
Step 2: Roll and cut
Preheat your oven to 375°F. Lightly flour your counter and roll out the chilled dough to about 1/8-inch thickness. Use a small cookie cutter I love a tree shape during the holidays, but honestly, any shape will do!

Step 3: Sugar press & prep
Pour the granulated sugar into a small bowl. Gently press the top of each cookie into the sugar, then place it sugar-side up on an ungreased baking sheet. Prick each one with a toothpick or fork (trust me, it helps them bake evenly and look adorable).
Step 4: Bake
Bake for 7–9 minutes. Keep a close eye you want to take them out just before they start browning. Let them cool completely before adding the filling.
Step 5: Make the frosting
While the cookies cool, beat the butter and salt until creamy and fluffy (about 3–5 minutes). On low speed, add the powdered sugar, 2 tablespoons of heavy cream, and vanilla. Add food coloring if you’re feeling festive! If the frosting is too thick, add a bit more cream until it spreads easily.
Step 6: Assemble
Spoon or pipe the filling onto the back of one cookie, then gently press another on top to make a sweet little sandwich. Store in an airtight container (if they last that long).
Maria’s Tips

- Don’t skip chilling the dough. It helps the cookies keep their shape and gives that perfect snap.
- Want them extra fancy? Roll the edges of the filled cookies in sprinkles.
- No piping bag? Use a zip-top bag with the corner snipped off works like a charm.
- If your house is warm, pop the finished cookies in the fridge for 10–15 minutes to help the filling set.
A Little Story From My Kitchen
These cookies started out as a little experiment during one of our rainy-day baking adventures. My daughter wanted to “paint” the frosting different colors, so we turned it into a mini cookie art project. Now it’s our thing we make a double batch, frost them in pinks, purples, and blues, and pack them up for neighbors and school lunches. It’s one of those sweet traditions that just kind of happens… and sticks.
FAQs
Can I use plant-based butter or dairy-free cream?
Yes, absolutely. I’ve tried this with vegan butter and almond milk cream, and it still works beautifully just expect a slightly softer texture.
How long do wafer cookies last?
Stored in an airtight container, they stay fresh for up to a week. But I’ve never had a batch last that long they go fast!
Can I freeze them?
Yes! Freeze the baked cookies (unfilled) in a zip-top bag for up to a month. Thaw and fill when you’re ready.

Just One More Bite…
These wafer cookies aren’t just a treat they’re a little bite of joy, filled with nostalgia, creativity, and that homemade goodness we all crave. Whether you’re baking with kids, prepping for a party, or just looking for a quiet moment with a cup of tea and something sweet… these cookies are it.
Bake a batch. Share a few. Keep some hidden just for you. (I won’t tell.)
Want to keep the cozy baking vibes going? Here are a few more goodies to check out:
Crumbl Cookie Recipe
If you’re a cookie lover, this big, bold Crumbl-style treat is your next must-bake.
Classic, chocolatey, and filled with that iconic creamy centerjust like the lunchbox days!
Homemade Starbucks Cake Pops
Fun, colorful, and perfect for gifting (or keeping all to yourself we won’t judge).
Print
Wafer Cookies
- Total Time: 2 hours 45 minutes
- Yield: 24 servings 1x
- Diet: Vegetarian
Description
These buttery, crisp wafer cookies are the perfect base for sandwich cookies or just a simple, nostalgic sweet treat. Made with everyday ingredients, they’re easy to roll, cut, and fill with creamy frosting. A family favorite that’s fun to bake and decorate together!
Ingredients
1 cup unsalted butter, softened
1/3 cup heavy cream
2 cups all-purpose flour
1/2 cup granulated sugar (for pressing cookies)
For the filling:
1/2 cup unsalted butter, softened
1/4 teaspoon kosher salt
1 1/2 cups confectioner’s sugar
2 teaspoons vanilla extract
2–4 tablespoons heavy cream
Food coloring (optional)
Instructions
Make the cookie dough
In a stand mixer (or using a hand mixer), beat the softened butter for 3–5 minutes until light and fluffy. Slowly add the flour, then the heavy cream. Mix until just combined. Cover and refrigerate the dough for at least 2 hours or overnight.Roll and cut the cookies
Preheat oven to 375°F (190°C). On a lightly floured surface, roll out the dough to 1/8-inch thickness. Cut with your favorite cookie cutters — trees, stars, or circles work great!Press in sugar and prepare for baking
Pour the granulated sugar into a small bowl. Lightly press the top of each cookie into the sugar and place it on an ungreased baking sheet. Prick each cookie with a fork or toothpick.Bake the cookies
Bake for 7–9 minutes, just until the edges are set and the bottoms are lightly golden. Let cool on the pan for 2 minutes before transferring to a wire rack.Make the frosting
In a clean bowl, beat the butter and salt until fluffy (about 3–5 minutes). Slowly mix in the powdered sugar, vanilla, and 2 tablespoons of cream. Add food coloring if desired. Add more cream if the frosting is too thick.Assemble the cookies
Fill a piping bag or zip-top bag with the frosting. Pipe a small amount onto the back of one cookie, then sandwich with another. Gently press to secure.Store and serve
Store the sandwich cookies in an airtight container at room temperature. Enjoy within 5–7 days!
Notes
Chill the dough well it helps cookies hold their shape while baking.
Use any shape cookie cutter for any occasion (trees for Christmas, hearts for Valentine’s, etc.).
The filling can be customized with flavored extracts (peppermint, almond, lemon… yum!).
No piping bag? Use a zip-top bag with the tip cut off.
These are great to make ahead bake the cookies and freeze them, then fill later!
- Prep Time: 30 minutes
- Cook Time: 9 minutes
- Category: Dessert
- Method: Baking
- Cuisine: American
Nutrition
- Serving Size: 1 sandwich cookie
- Calories: 195
- Sugar: 14g
- Sodium: 65mg
- Fat: 11g
- Saturated Fat: 7g
- Unsaturated Fat: 3g
- Trans Fat: 0g
- Carbohydrates: 22g
- Fiber: 0.5g
- Protein: 1.5g
- Cholesterol: 30mg
Keywords: wafer cookies, sandwich cookies, homemade cookies, chocolate wafer alternative, kids baking, nostalgic cookies
