The first time I made these, my kitchen smelled like love and cinnamon. My son peeked over the counter, eyes wide, and whispered, “Mama, what’s in there?” I handed him one of these warm, golden pies crispy on the outside, soft and dreamy on the inside and before I knew it, we had eaten half the batch together. That’s the magic of these Stuffed Cheesecake Fried Apple Pies. They bring people close, one bite at a time.
This recipe is everything I adore in a dessert. It’s got that cozy hug of fried apple pies we all grew up loving, plus a creamy, tangy cheesecake heart that melts like velvet. I sometimes call them my “two-for-one treasures.” Whether you’re making them for a family gathering or just because you want something sweet and soulful, they’re pure joy.
Let me walk you through this little indulgence that’s now a forever favorite in my home.
Ingredients You’ll Need (And Why They Matter)
For the Filling:
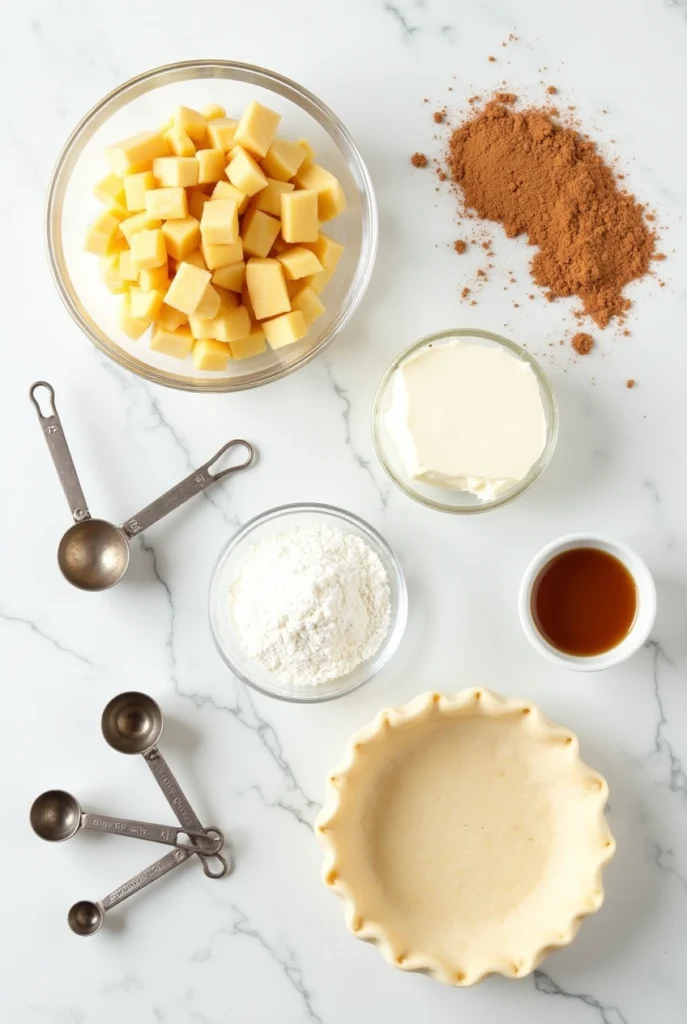
- 1 cup apple pie filling, chopped small
I like using a chunky apple pie filling with cinnamon already in it it adds warmth. Chop the apples small so they nestle perfectly into the dough. - 1 cup cream cheese, softened
Let it sit out for 30 minutes. The softness helps it whip into a dreamy cloud. - 2 tablespoons powdered sugar
Just enough to sweeten the cream cheese without overpowering the apples. - 1 teaspoon cinnamon
This brings the soul into the filling. Never skip the cinnamon.
For the Crust & Frying:
- 1 package refrigerated pie dough or biscuit dough
Pie dough gives you that classic flaky texture. Biscuit dough? A little more pillowy. Both work beautifully choose your adventure. - Oil, for frying
Enough to submerge each pie use a neutral oil like canola or vegetable.
Optional Toppings:
- Caramel sauce for drizzling
For that sticky-sweet touch, like a warm hug. - Powdered sugar for dusting
Makes them look like they came from a bakery. Always adds charm.

How to Make Stuffed Cheesecake Fried Apple Pies
1. Make the Cheesecake Filling
In a mixing bowl, beat the softened cream cheese, powdered sugar, and cinnamon until it’s smooth and creamy like a little cheesecake cloud. Then gently fold in your chopped apple pie filling. Don’t stir too aggressively here. Think of it like tucking the apples into the cheesecake with love.
2. Prep the Dough
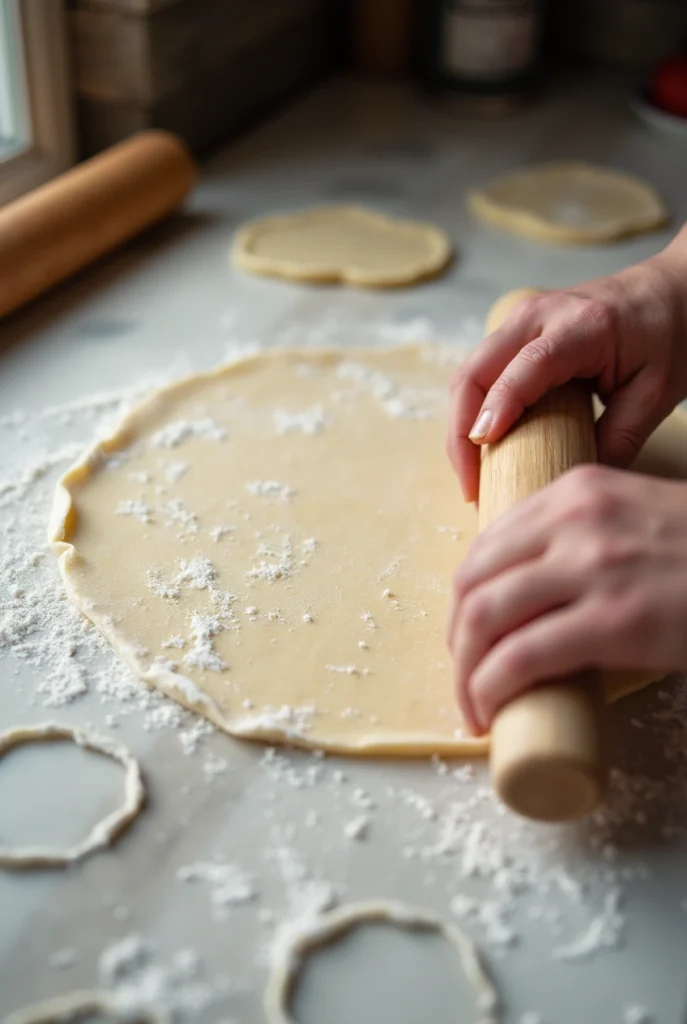
Roll out your dough on a lightly floured surface to about ¼ inch thickness. I always hum a little tune while I do this it makes the process feel like a dance.
Use a round cutter (or just a glass from your cupboard!) to cut out circles about 4 to 5 inches across. The size matters here too small and they’ll burst, too big and they’ll be tricky to fry.
3. Fill and Seal
Place a generous tablespoon of filling in the center of each dough circle. Be careful not to overfill it’s tempting, I know, but they need space to seal properly.
Fold each one into a half-moon shape and press the edges firmly to seal. Then grab a fork and gently crimp the edges. This not only seals them better, but adds that pretty rustic look I love.
4. Fry to Golden Perfection
Heat your oil in a deep skillet over medium heat. Once hot (you’ll know it’s ready when a little piece of dough sizzles on contact), gently place in your pies a few at a time. Don’t overcrowd.
Fry them for about 2-3 minutes per side, until beautifully golden brown. Place them on a paper towel-lined plate to catch any excess oil.
5. Add the Finishing Touches
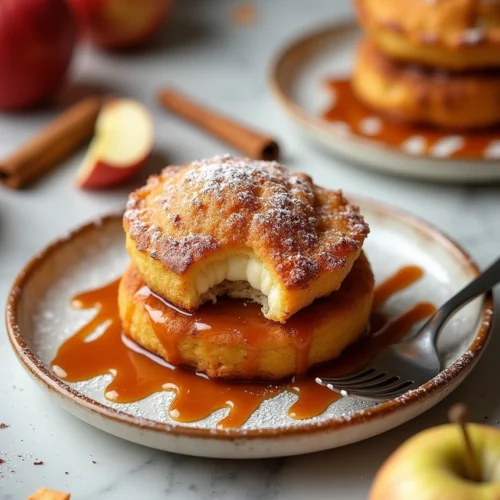
Drizzle with caramel sauce while they’re still warm, or dust them with powdered sugar if you prefer a more classic finish. Or do both because why not?
My Little Tips That Make a Big Difference
- Don’t skip the softening step for cream cheese. Cold cream cheese = lumpy filling.
- Use your hands when sealing the pies before crimping. You’ll feel if anything’s about to spill out.
- Test one pie first in the oil to check temperature. If it browns too fast, lower the heat a bit.

Storing Leftovers (If You’re Lucky Enough to Have Any)
Place cooled pies in an airtight container and keep them in the fridge for up to 3 days. To freeze, wrap each one individually and store for up to a month. Reheat in a 350°F (175°C) oven for 10–15 minutes for that freshly-fried magic.
Why These Fried Apple Pies Are Always a Win
They’ve got that irresistible crunch when you bite in, followed by the creamy cheesecake surprise and tender apple filling it’s like fall, comfort, and indulgence all rolled into one.
More tasty ideas: The Sweetheart of My Oven: Red Velvet Crush Cupcakes
I’ve brought these to potlucks, sent them in lunchboxes, even wrapped them up as sweet gifts. And every time? Someone asks for the recipe.
They’re more than just fried apple pies. They’re stuffed with the kind of joy that only homemade desserts can deliver.
FAQ
Can I bake these instead of frying?
Yes! Just brush them with egg wash and bake at 375°F (190°C) for 15–20 minutes until golden brown.
Can I customize the filling?
Absolutely! Try swapping apples for berries or peaches, or add chopped nuts or mini chocolate chips for a fun twist.
Can I use puff pastry instead of pie dough?
Definitely. Puff pastry gives a flakier, more delicate bite that’s just as delicious.
If you make this recipe, I’d love to see your twist! Tag me on social media I’ll be cheering you on from my kitchen, caramel drizzle in one hand and a warm pie in the other. 💛

Stuffed Cheesecake Fried Apple Pies
Equipment
- Mixing Bowl
- Rolling Pin
- Round Cutter or Glass
- Frying Pan
- Fork
- Paper Towels
Ingredients
Filling
- 1 cup Apple pie filling chopped small
- 1 cup Cream cheese softened
- 2 tablespoons Powdered sugar
- 1 teaspoon Cinnamon
Dough and Frying
- 1 package Refrigerated pie dough or biscuit dough
- as needed cup Oil for frying neutral oil like canola
Optional Toppings
- to taste Caramel sauce for drizzling
- to taste Powdered sugar for dusting
